Deep dive · Before Turn 2
Diplomacy, Minors and War
What does a war really cost, what happens when you attack a minor, and how can Scotland change the war between England and Spain?
11:53 · running time
Ticks itself once you've watched nearly all of it.
In a nutshell
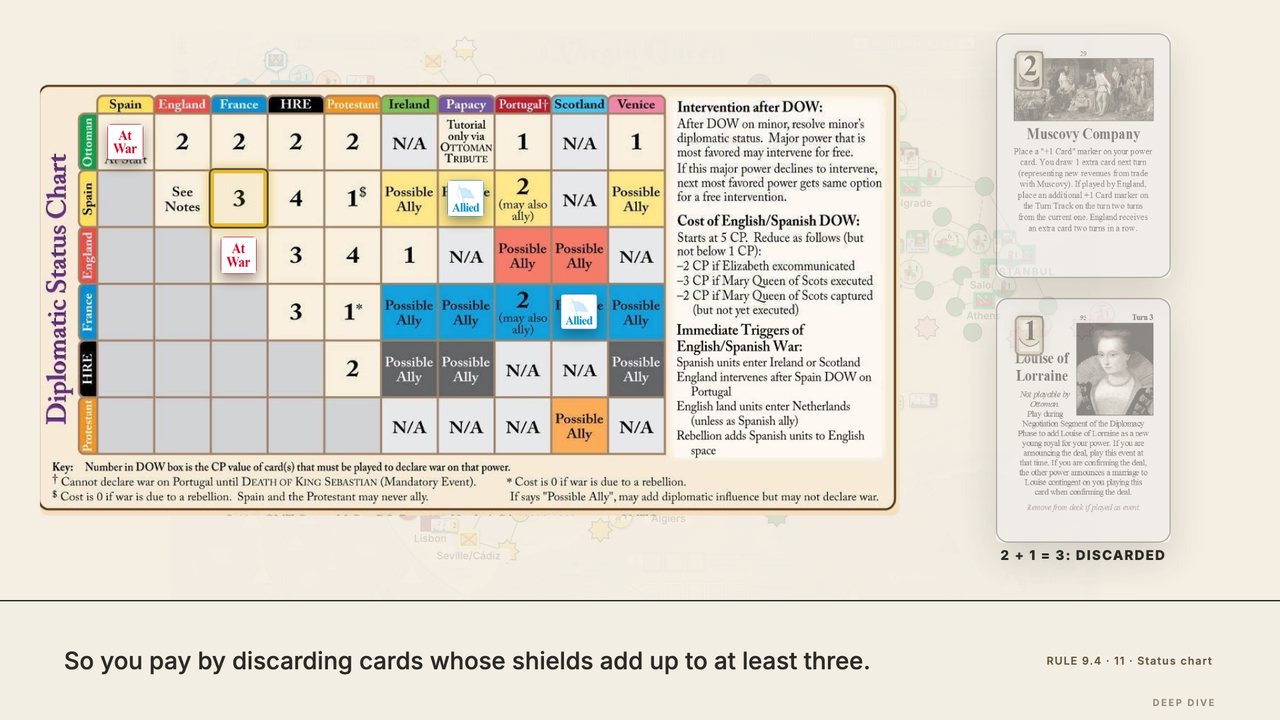
- Every war has a price on the chart, paid in cards (not Home or Mandatory); N/A or Possible Ally: can't declare war
- England v Spain: 5, minus 2 Papal Bull, minus 2 Mary captured (Turn 2 or later), never below 1; no peace. A rebellion's war: free
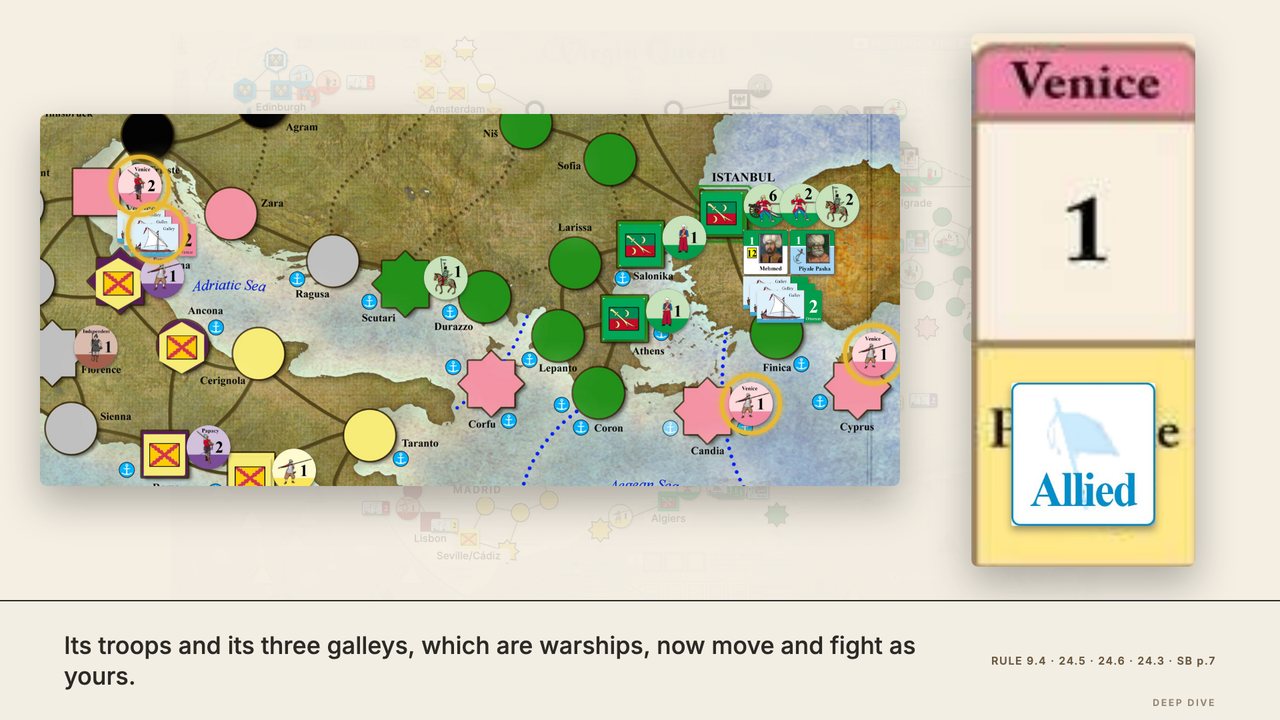
- War on a minor: you lose your influence and sit out the check; the winner intervenes (ally, and war with you) or isolates
- Scotland: no war on Scotland itself; changes sides in a check (Scottish Lords Rebel, from Turn 2); one CP of influence can decide it
Check yourself
No marks, no pressure. Finish the questions and watch the video, and the lesson is ticked whatever your score.
Rules covered
3.2 · 9 · 9.2 · 9.4 · 9.5 · 11 · 13.1 · 18.4 · 18.5 · 23.3 · 24.1 · 24.2 · 24.3 · 24.5 · 24.6 · 25.2 · Card #5 · Card #74 · Influence table · SB p.11 · SB p.6 · SB p.7 · Status chart · Status chart key · Status chart notes